

Ring group automation
How to create a ring group automation profile?
In this section we will show examples of how to create an RGAP and how to utilize it.
Global RGAP example
In this example, we will create a RGAP using the scope global to affect all devices in our Tenant. We create 3 rings and RGAP will automatically add the final ring.
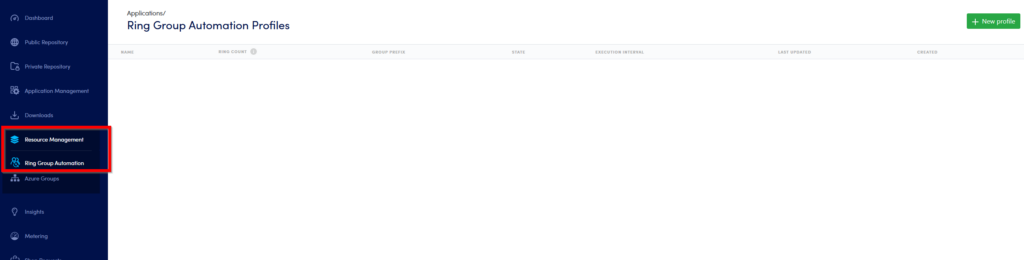
- In Endpoint admin under Resource Management, select Ring Group Automation:
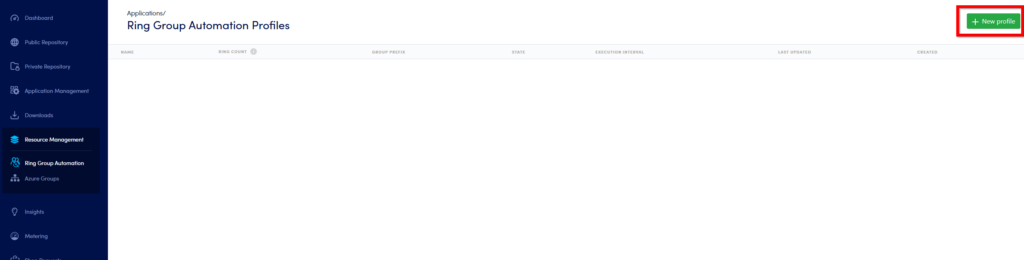
- Select New Profile in the top-right corner:
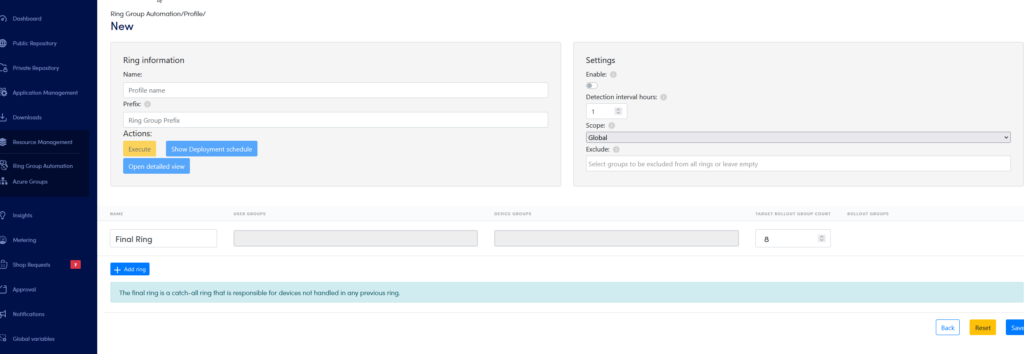
- The New RGAP page will look like this:
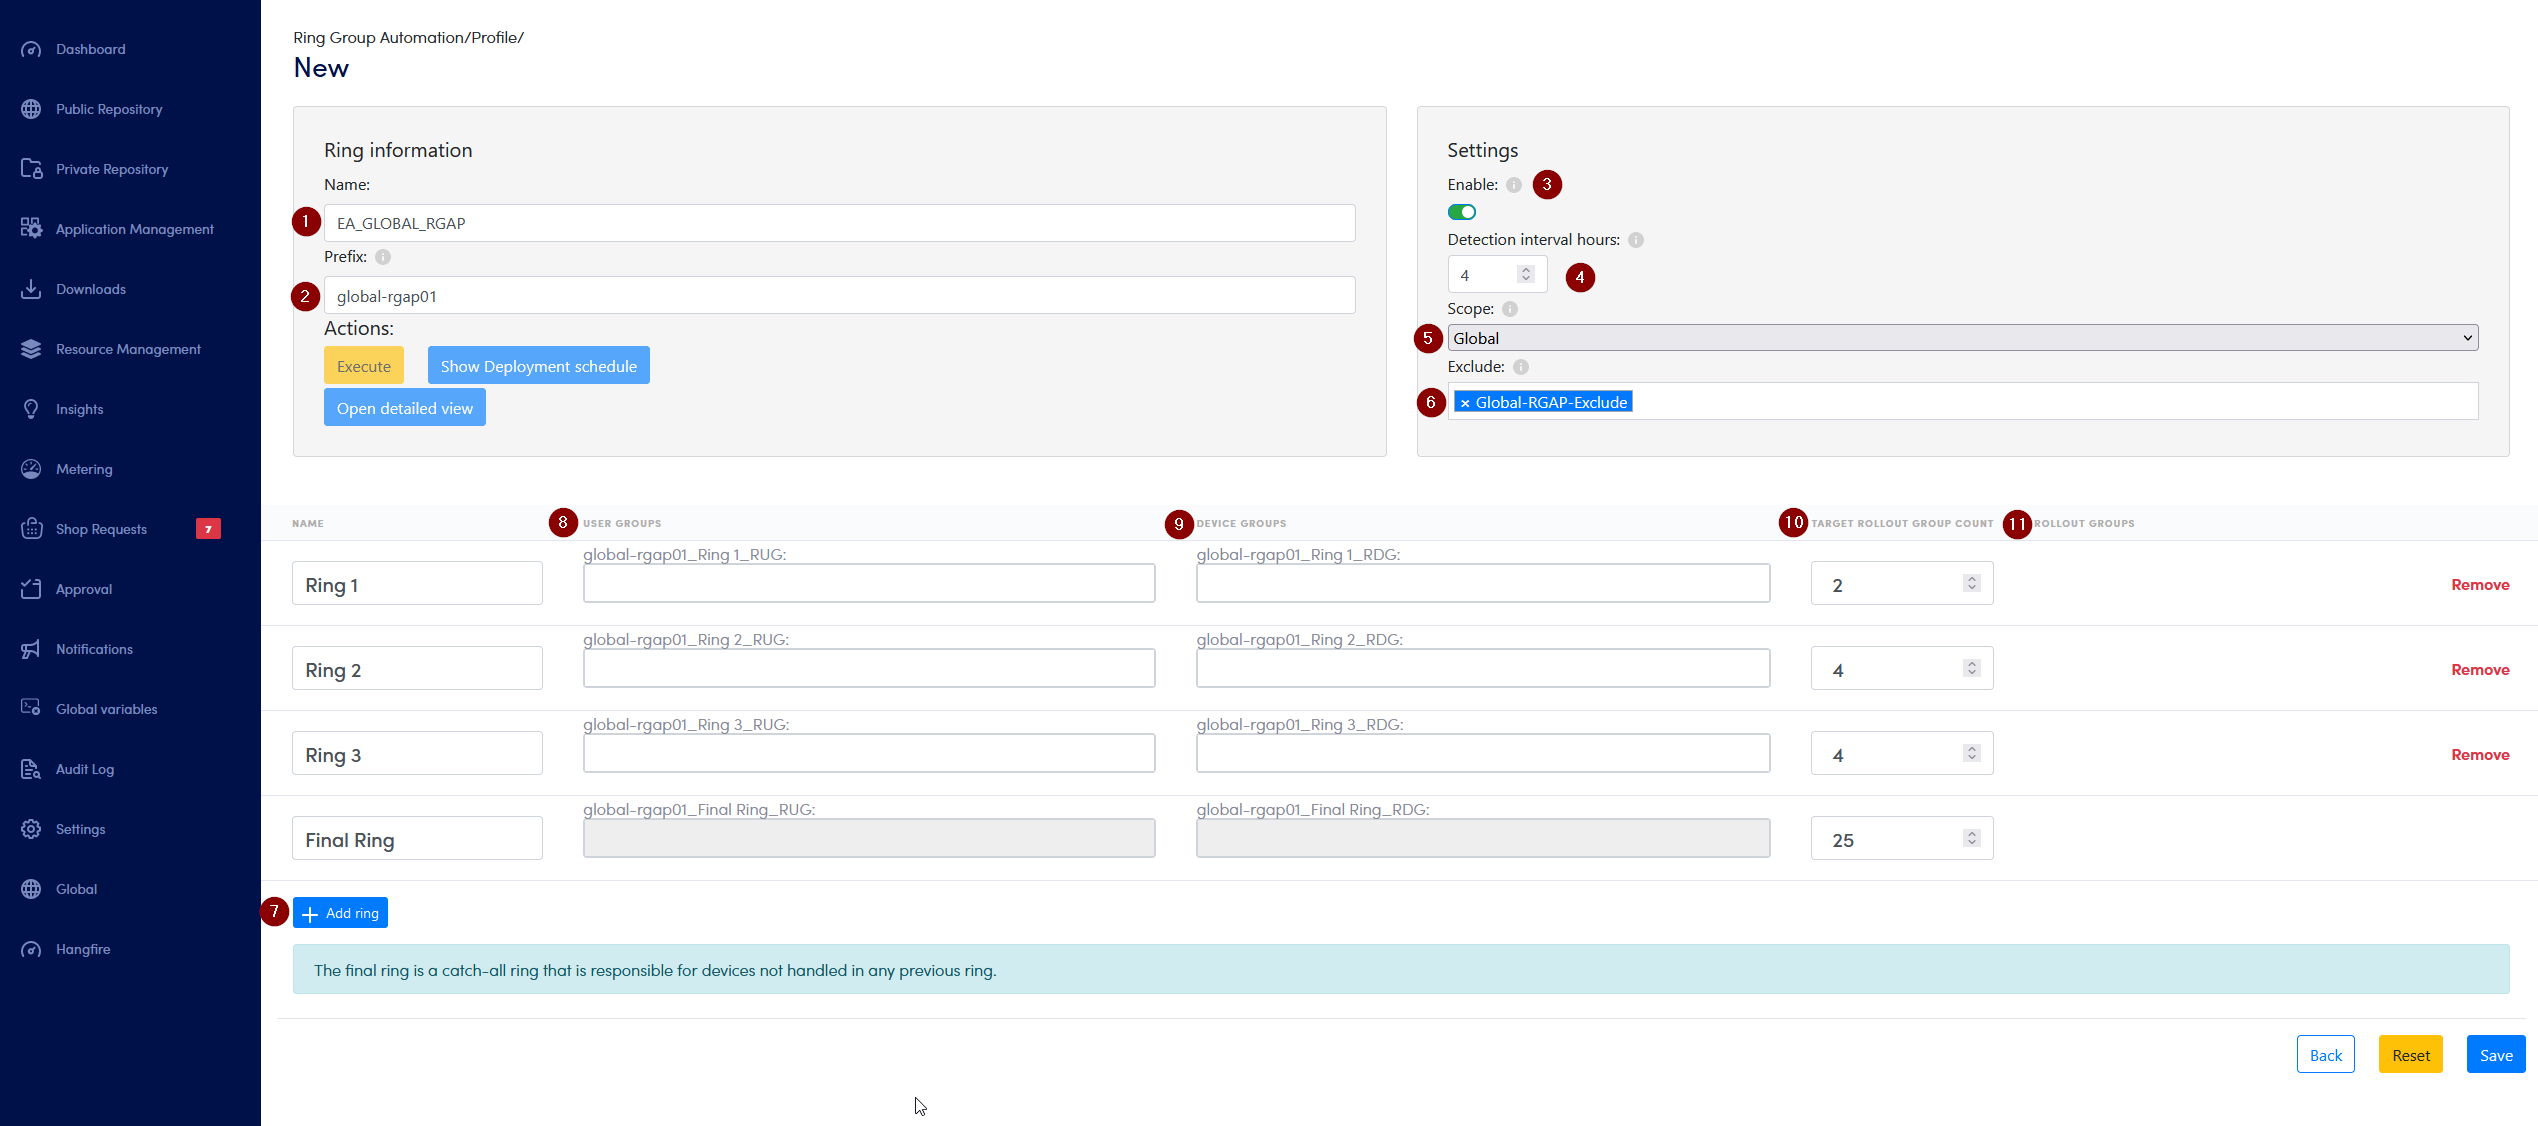
- Now we will configure the RGAP:
- Name of the RGAP.
- Prefix for the groups that will be created by the RGAP.
- Enable the RGAP.
- Detection interval, in this example the RGAP will run every 4 hour.
- Scope of the RGAP. We use Global, meaning all devices will be affected by this RGAP.
- Exclude: Here we have added the group Global-RGAP-Exclude. All members of this group will not be affected by the RGAP.
- Add ring, clicking this button will add a ring. We have added 3 rings. Remember the final ring is automatically added to RGAP.
- User Groups: Here we can add groups with user-based membership to each ring.
- Device Groups: Here we can add groups with device-based membership to each ring.
- Target Rollout Group Count. Use this to choose the number of device sub-groups the ring should be divide into.
- Rollout Groups: When the RGAP have run once the rollout group can be seen here.
- In the next step we have added groups to Ring 1-3:
- In Ring 1, we have added the user-based group “IT Department” under User Groups.
- In Ring 2, we have added the device-based group “Device Test” under Devices Groups.
- In Ring 3, we have added the user-based group “All IT Managers” under User Groups.
